The config directory contains the configuration files for your Rails application.
The routes.rb configures the application routes. You don't have to create it manually, as Rails adds it automatically when you create a new project by running rails new project_name.
config/routes.rb file.Here's the default content of the routes.rb file:
Rails.application.routes.draw do
  # Define your application routes per the DSL in https://guides.rubyonrails.org/routing.html

  # Reveal health status on /up that returns 200 if the app boots with no exceptions, otherwise 500.
  # Can be used by load balancers and uptime monitors to verify that the app is live.
  get "up" => "rails/health#show", as: :rails_health_check

  # Defines the root path route ("/")
  # root "posts#index"
end
It's a plain Ruby script. As you can see, it calls the draw method passing a block. The routes are configured inside the block.
If you're not much familiar with Ruby, this configuration file might look weird, unlike a JSON or YAML configuration file.
In its essence, it's a plain Ruby script containing a bunch of method calls. However, since Ruby is so expressive, these method calls can be read as instructions, making Ruby a routing-domain specific language, i.e. a language focused on routing domain, with words like root, get, post, and so on.
I know you're wondering where the methods used in this file are coming from.
When Rails reads this file, it evaluates its contents in the context of a ActionDispatch::Routing::Mapper class. It contains most of the methods used in the routing file. If you'd like to learn more, check out the following post:
 Akshay Khot
Let's look at the first line of actual code in the routing file.
# config/routes.rb

get "up" => "rails/health#show", as: :rails_health_check
Here, we call the get method, passing it a hash. This route instructs Rails to pass any request to the /up endpoint URL to the show action method defined in the rails/health_controller class.
It's important to note that the router goes through the routes defined in the routes.rb file in the order in which they're defined.
For each incoming HTTP request, the router tries to match the URL with the routes from top to bottom. If the first route fails to match, it tries the next, and so on, until it finds a match. As soon as it finds a matching route, it exits, without trying the remaining routes.
Defining Routes
The most basic way to define a new route corresponding to a URL is by providing three pieces of data:
- The URL pattern to match
- The names of the controller class and the action method
- HTTP method, e.g.
get,post, etc.
match "posts", controller: "posts", action: "index", via: :getThis route directs the request to /posts to the index action method on the PostsController class, which is defined in the controllers/posts_controller.rb file.
However, in practice, you'll be most likely using the short-hand version of the above route, which succinctly provides all three pieces of information:
get "posts" => "posts#index"

# OR

get "posts", to: "posts#index"
Passing a String to to: will expect a controller#action format.
Going one step further, you can generate multiple routes for a given resource by using the resources method:
resources :postsWhich will follow the Rails conventions and generate multiple routes, including the above one for the post resource. We will explore resourceful routing in depth in a future post.
Here're a few simple routes that handle requests to /, /about and /home endpoints to an index, home, and about action methods on the ApplicationController and PagesController classes respectively, as follows:
# config/routes.rb

get "/", to: "application#index"

get "/home", to: "application#home"

get "/about", to: "pages#about"
The get method instructs Rails to only match this route if the incoming HTTP request is a GET request. Rails won't invoke the route if the request was a form POST, or a PUT or DELETE request sent from JavaScript.
It's very easy to handle various types of requests in Rails. As you can guess, you just have to use the correct method.
post "/create", to: "posts#create"Inline Routes
There's another different way to create the routes, which is not used that often:
# config/routes.rb

get "/", to: ->(env) {
  [200, {}, ["Hello, World!"]]
}

get "/about", to: ->(env) {
  [200, {}, ["About Me"]]
}

get "/home", to: ->(env) {
  [200, {}, ["Home Page"]]
}
The number 200 represents the HTTP status (success) and the empty hash represents the headers of the response. Why are they wrapped in an array? To learn more, check out my post on the Rack protocol.
If you want to learn more about this Sinatra-style routing, check out this post: Inline Routes in Rails.
Akshay Khot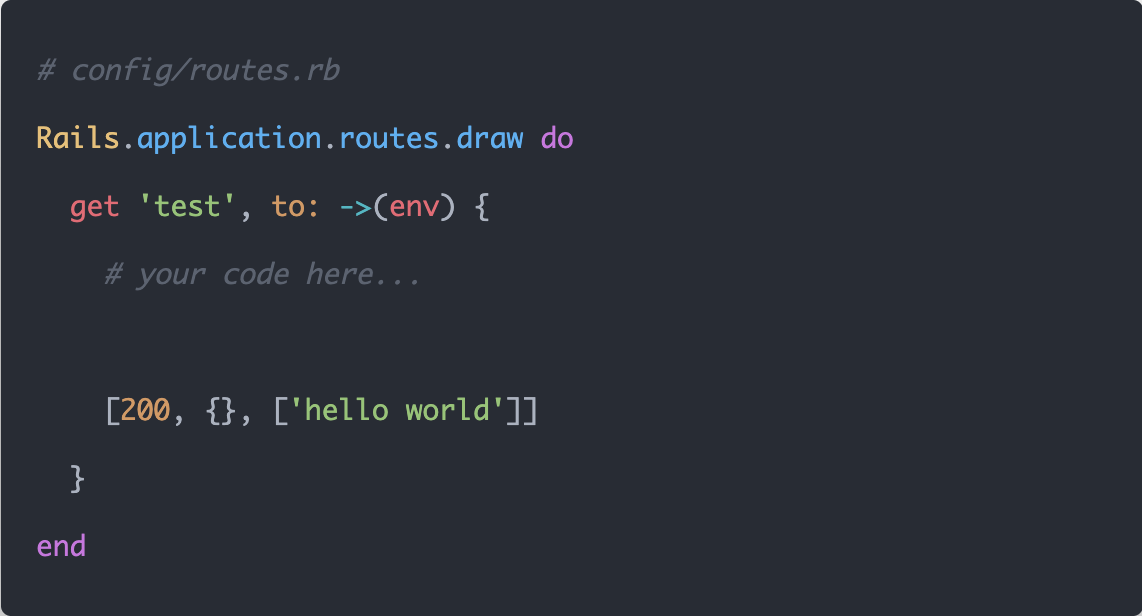
Even though you might never use it in your Rails apps, this route shorthand is still useful when you quickly want to try some Rails feature in the browser, and don't want to spin up a whole new controller and view.
Display All Routes
Often while programming, you may want to see the list of routes in your application. For this, you have two options:
- Run the
bin/rails routescommand, which displays all the routes. You can narrow down the list by passing the-gflag with the search term, for example:bin/rails routes -g userswill show all the routes containing the stringusers. - Visit the http://localhost:3000/rails/info/routes URL in the browser, which displays all the routes, and you can search for particular routes by entering the search term in the input field.
Both options will list all the routes for your application, in the same order that they appear in config/routes.rb. For each route, you'll see:
- The name of the route (if any)
- The HTTP verb used (if the route doesn't respond to all verbs)
- The URL pattern to match
- The routing parameters for the route
Finally, although it's not highly recommended, if your routing file gets too large, you can break it up into multiple smaller ones. Check out the documentation to learn more.
That's it about the Rails routing configuration file. In the next lesson we will explore the routes, specifically, the format of a route and the methods you can use in the routing file, such as get, post, match, and so on.