This is the third post in my series on building this blog from scratch with Ruby on Rails. Check out all the posts in the series here: Rails in Practice

Now that we've provisioned the app and database servers, the next step is to create a staging environment in our Rails application so we can deploy and test the blog in a safe place before we push to production.
In this post, we'll configure a staging environment and deploy to it using Kamal. Here's what we'll cover.
- Learn some of the basics of Rails environments
- Create and configure a staging environment
- Deploy to the staging environment with Kamal
- Configure the DNS to point to the Rails application server
By the end of the post, we'll have our Rails app running live on the staging environment.
Rails Environments
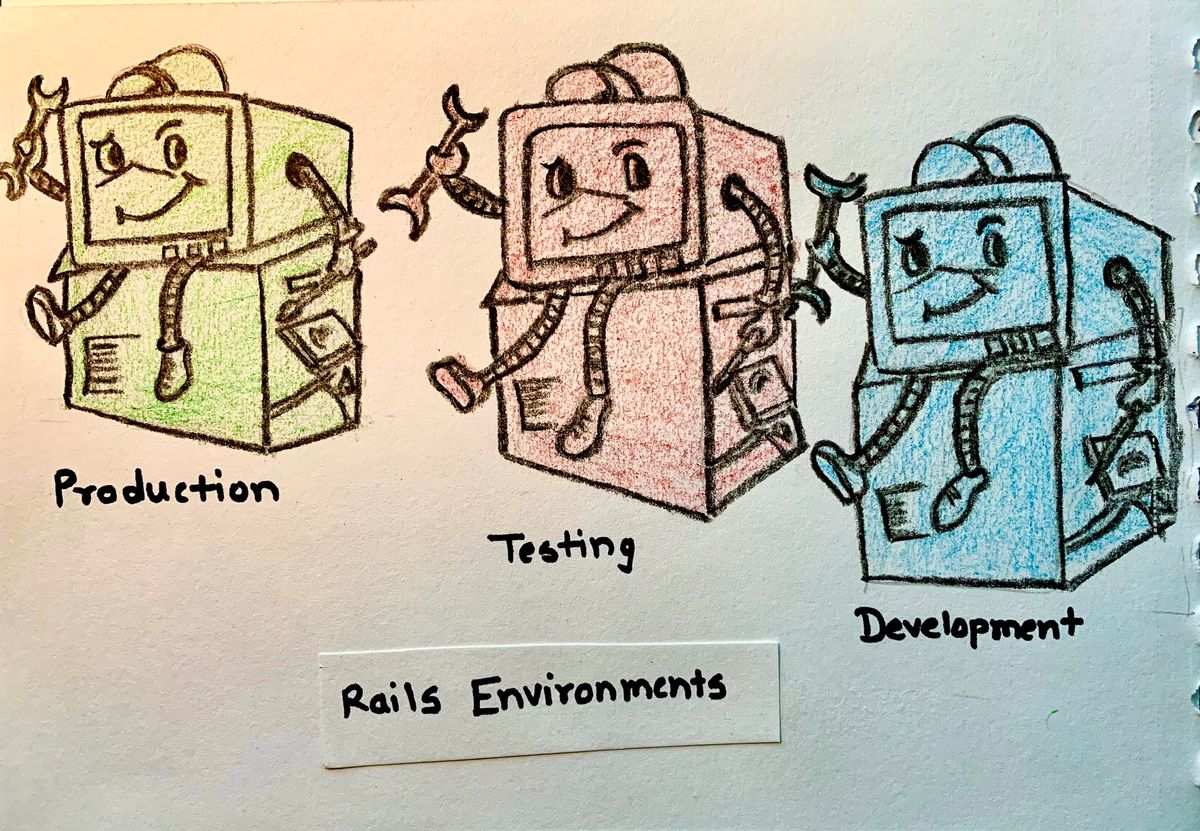
Rails applications typically run in one of three environments: development, test, and production. In addition, you can create your own custom environment, such as qa or staging.
Each of these environments has its own configuration settings, which allows your application to behave differently based on the environment it’s running in. For example, your app can log to standard output in development, whereas it might use an external logging service in production.
How does Rails know which environment to use?
To figure out the current environment, Rails uses the RAILS_ENV environment variable. If that’s not set, it will use the RACK_ENV variable. You can set RAILS_ENV to one of the following values to choose the correct environment: development, test, or production.
Alternatively, you can specify the environment name by passing the -e flag to Rails commands.
$ bin/rails server -e staging
For each of the above environments, Rails provides a dedicated configuration file stored under the config/environments directory. If you open the config/environments folder, you will notice three files in there: development.rb, test.rb, and production.rb, containing the configuration settings for each environment.
Now, all environments have some common settings, so it can get repetitive. So typically, you put the configuration settings common to all environments in the config/application.rb file, and settings specific to a particular environment in the config/environments/#{env}.rb file. For example, all the settings for staging environments will live in the staging.rb file.
Remember: Environment config files take precedence over the application config. That is, if you have a setting duplicated in both the application.rb and the production.rb, Rails will use the one in the production.rb.
To learn more about Rails environments, check out the following post:
With that background, let's create the staging environment for the blog.
Create a New Staging Environment
Since a staging environment tries to replicate the production environment, you can simply create a new staging.rb file and copy + paste the contents of production.rb into it.
However, it would be nice if we could reuse the existing production config instead of duplicating it. Then we can override it with the staging-specific settings. A simple way to do this is to require the production config and only keep the settings specific to staging environment in the staging.rb file.
# config/environments/staging.rb

require_relative "production"

Rails.application.configure do
  # Staging overrides

  Rails.application.routes.default_url_options[:host] = "staging.writesoftwarewell.com"

  config.action_mailer.default_url_options = { host: "staging.writesoftwarewell.com" }
end
The next task is to add staging settings next to wherever you see production settings. The simplest way to do this is to do a global search for production in the Rails app, and duplicate the production settings for staging.
# config/cable.yml
staging:
  adapter: solid_cable
  connects_to:
    database:
      writing: cable
  polling_interval: 0.1.seconds
  message_retention: 1.day

# config/cache.yml
staging:
  database: cache
  <<: *default

# config/queue.yml
staging:
  <<: *default
The most important one is the database config.
# config/database.yml
staging:
  primary: &primary_staging
    <<: *default
    database: write_software_well_staging
    url: <%= Rails.application.credentials.staging_database_url %>
  cache:
    <<: *primary_staging
    database: write_software_well_staging_cache
    migrations_paths: db/cache_migrate
  queue:
    <<: *primary_staging
    database: write_software_well_staging_queue
    migrations_paths: db/queue_migrate
  cable:
    <<: *primary_staging
    database: write_software_well_staging_cable
    migrations_paths: db/cable_migrate
Note that I'm providing the staging database credentials via a URL. This URL is pulled from the Rails credentials. To edit the staging credentials, run the following command:
EDITOR="code --wait" rails credentials:edit -e staging
This will open a VS Code window and the command will wait for you to edit, save, and close the tab. Add the database connection string we got from the previous post: Configure a PostgreSQL Database Server
staging_database_url: "postgresql://postgres:SecurePassword!23@12.112.4.5:5432"
Note: If your password contains an ampersand @ character, replace it with its url-encoded version %40, so if your password is strong@password123, you'll use strong%40password123 instead.
After you close the tab, you'll notice that Rails has added a two new files under the /config/credentials directory:
staging.yml.enccontains the encrypted credentials. You cannot edit this file directly. This file is safe to store in version control.staging.keyis the decryption key. Rails uses it to unlock and read the above encrypted credentials at runtime. It should not be committed to version control, hence Rails adds it to.gitignorefile.
staging.key somewhere else. Otherwise, you won't be able to edit the staging credentials when you switch branch back to the main branch (since .gitignore excludes this file, it won’t exist on other branches unless copied manually.). Now you're all set. Verify that the credentials were added successfully by testing them in console:
$ rails c -e staging
> Rails.application.credentials.staging_database_url
=> "postgresql..."
Now that we've added the configuration for the staging environment, we'll deploy to it using Kamal.
Deploy to Staging with Kamal
Kamal reads the configuration from the config/deploy.yml. For staging environment, we need to create a config/deploy.staging.yml file.
# config/deploy.staging.yml

service: write-software-well-staging

image: writewell-registry/write-software-well-staging

servers:
  web:
    - 123.456.789.89

proxy:
  host: staging.writesoftwarewell.com

ssh:
  user: root
  keys: [ "~/.ssh/id_ed25519" ]

env:
  clear:
  RAILS_ENV: staging
When deploying to the staging environment, Kamal reads the configuration from config/deploy.staging.yml and merges it with the base configuration under config/deploy.yml.
The only change we need to make in the config/deploy.yml is update the registry information. We'll keep it in the original deploy file as the production Kamal environment will use the same registry later.
# config/deploy.yml

# rest of the config

registry:
server: registry.digitalocean.com
username:
  - DOCKER_REGISTRY_DO_USERNAME
password:
  - DOCKER_REGISTRY_DO_TOKEN
I've created a $5 container registry on DigitalOcean. But feel free to use the free DockerHub registry as well.
Configure the Secrets
To manage the secrets for the staging environment, I will duplicate the .kamal/secrets file and rename it to secrets.staging.
KAMAL_REGISTRY_PASSWORD=$KAMAL_REGISTRY_PASSWORD

RAILS_MASTER_KEY=$(cat config/credentials/staging.key)

DOCKER_REGISTRY_DO_USERNAME=$DOCKER_REGISTRY_DO_USERNAME

DOCKER_REGISTRY_DO_TOKEN=$DOCKER_REGISTRY_DO_TOKEN
KAMAL_REGISTRY_PASSWORD– The password used by Kamal to authenticate with the container registry for deployments.RAILS_MASTER_KEY– The decryption key for Rails credentials (in this case, read fromconfig/credentials/staging.key).DOCKER_REGISTRY_DO_USERNAME– The username for authenticating with the DigitalOcean container registry.DOCKER_REGISTRY_DO_TOKEN– The access token for authenticating with the DigitalOcean container registry.
To verify the config, run the following command:
$ kamal config -d staging
It will print the current staging configuration. Verify that it contains the values you expect.
Now you can deploy the blog to the staging environment. Run the setup command, passing the flag indicating staging environment.
$ kamal setup -d stagingThis command will:
- Connect to the servers over SSH. It uses root by default, authenticated by the SSH key we provided in the
deploy.staging.ymlfile. - Install Docker on the server.
- Log into the registry both locally and remotely.
- Build the image using the
Dockerfilein the application. - Push the image to the container registry.
- Pull the image from the container registry onto the server.
- Ensure kamal-proxy is running and accepting traffic on ports 80 and 443.
- Start a new container with the application.
- Tell kamal-proxy to route traffic to the new container once it is responding with
200 OKtoGET /up. - Stop the old container running the previous version of the app.
- Prune unused images and stopped containers to ensure servers don’t fill up.
It should take a few minutes to deploy the whole thing. Future deploys will be even faster (under 2 minutes for me).
For future deploys, you can run the kamal deploy -d staging command.
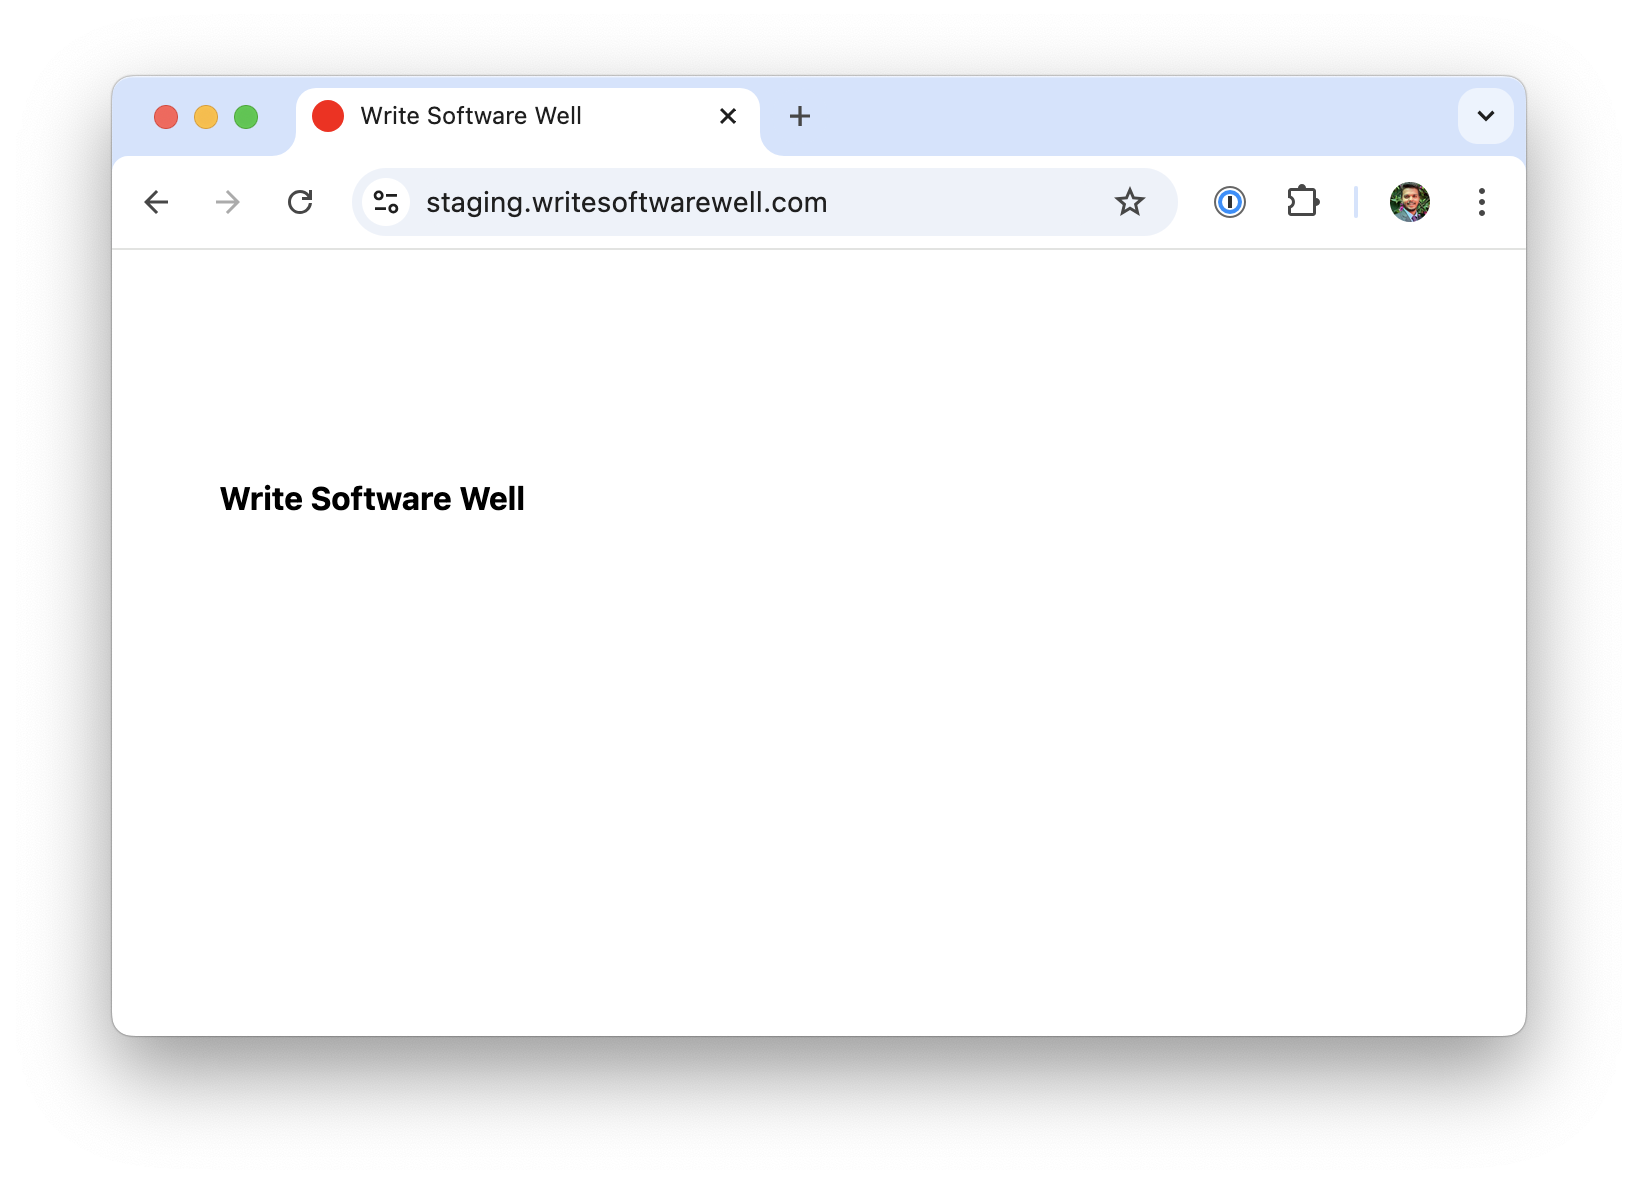
Once the application is up and running on the server, the last step is to add the DNS records so the staging URL points to our Rails application server.
Update DNS Records
For this, I'll go to the DNS provider where I'm hosting the writesoftwarewell.com domain, and add an A record with value of staging, pointing to the DigitalOcean server where I'm hosting the Rails application.
A staging 123.456.789.89
That's it. Wait for some time and then visit the staging URL. You should be greeted with the following screen.

That's it. Whenever I want to deploy to staging in future, I will run kamal deploy -d staging command.
Very good. Now we're ready to do some serious application development. See you in the next post.
That's a wrap. I hope you found this article helpful and you learned something new.
As always, if you have any questions or feedback, didn't understand something, or found a mistake, please leave a comment below or send me an email. I reply to all emails I get from developers, and I look forward to hearing from you.
If you'd like to receive future articles directly in your email, please subscribe to my blog. Your email is respected, never shared, rented, sold or spammed. If you're already a subscriber, thank you.