
In this post, we'll create a new Rails project for my blog. I'm assuming you already have the latest versions of Ruby and Rails installed on your machine, along with the PostgreSQL database. To learn how to install Ruby and Rails, check out the official installation guide. For PostgreSQL, use Postgres.app.
First, I will create a new Rails application using the rails new command, using PostgreSQL as the database and Tailwind CSS for styling. If you're following along and writing code, replace write_software_well with the name of your application.
$ rails new write_software_well --database=postgresql --css=tailwind --skip-system-test
- Run
rails --helpto view all Rails commands. - Run
rails new --helpto see all options for creating a new project.
Rails will create a new project named write_software_well in the current directory. Open it in your favorite editor and let's explore what's in it.
The Directory Structure of a New Rails Project
If you are new to Rails, the directory structure might look overwhelming. You do not need to use everything at once, but knowing why it's there is useful. Let's go through some of the important files and folders.
app
The app directory is our core application where we'll write most of the code for the blog. It contains the core logic of the blog, organized into the Model-View-Controller (MVC) pattern.
app/models: This is the "M" in MVC. Models represent our application's data and interact with the database. For example, aPostmodel would manage the posts in the posts table.app/views: This is the "V" in MVC. Views are the templates that generate the HTML our users will see in their browser. We'll have a folder here for each controller.app/controllers: This is the "C" in MVC. Controllers receive requests from the browser, interact with the models to fetch or save data, and then render the appropriate view.app/helpers: Contains small, reusable methods to keep the view logic clean. For instance, we could have a helper to format dates or prices consistently across the app. We use these helpers from views.app/javascript: This is home to the frontend code. Our Stimulus controllers, which add interactivity to HTML, live inside theapp/javascript/controllers/folder.app/assets: Holds static files. Our compiled CSS files are inapp/assets/builds/, and images go intoapp/assets/images/. Remember, this is not where we'll store the user-uploaded pictures, they will go in an S3 bucket.app/jobs: When you signed up for my blog, you must have received confirmation and welcome emails. Now we don't want to wait until the system sends these emails before showing you the thank you page, so we process them in the background. This folder contains these background jobs.app/mailers/: For creating and sending emails from the application.
config
This directory contains the configuration files that specify how application will behave.
config/routes.rb: This is one of the most important files. It maps URLs to our controllers and actions, essentially defining the application's "routes." Check out my handbook on Rails Router to learn more.config/database.yml: This file contains the settings for connecting to the database (PostgreSQL, MySQL, SQLite, etc.) for different environments.config/application.rb: The main configuration file for our entire application.config/environments: Contains settings specific to each environment:development.rb(for local machine),test.rb(for running tests), andproduction.rb(for the live blog).
db
Anything related to your database structure lives here.
db/migrate: As we make changes to your database, we first create migration files here. Each file represents a change, like adding a table or a column. This folder is not present yet but will be created when we run your first migration.db/schema.rb: This file is an auto-generated snapshot of the current database structure. It's a reliable reference for what database looks like. Like the migrate folder, it will be generated when we run the first migration.db/seeds.rb: A script to populate the database with initial data. This is useful for setting up a new development environment with some sample users or products.
bin
This folder contains scripts for running and managing your application. Here are the two commands you'll run most often.
bin/rails: The primary command-line interface for Rails. You'll use it constantly to start servers, generate code, run database migrations, and more (e.g.,bin/rails server,bin/rails generate model User, and so on).bin/dev: A convenient script to start all the services your app needs in development (like the web server and TailwindCSS compiler) at once.
Other important files and folders
libcontains the code that sits outside your application’s core business logic. It’s a place for reusable libraries, modules, or utilities that could just as easily be extracted and used in another Rails application.testcontains the tests for our application code. We'll write tests as we go along.publiccontains static files and compiled assets. When your app is running, this directory will be exposed to the Internet as-is. Don't store any sensitive files here.Gemfilelists all the external libraries (called "gems") your application depends on.README.mdis the instruction manual for your project. It’s good practice to document how to set up and run your application here.
Now that we've covered the directory structure of a freshly minted Rails project, the next obvious step is to launch the application. For this, we'll first run the setup script that comes with Rails. It will install the gems, prepare the database, and start the development server.
$ bin/setup

== Installing dependencies ==
The Gemfile\'s dependencies are satisfied

== Preparing database ==
Created database 'write_software_well_development'
Created database 'write_software_well_test'

== Removing old logs and tempfiles ==

== Starting development server ==
17:19:13 web.1  | started with pid 92964
17:19:13 css.1  | started with pid 92965
17:19:17 web.1  | => Booting Puma
...
Make sure you're started the PostgreSQL database server before you run this command!
Now you can visit the application by visiting the URL: http://localhost:3000/
This is what the default homepage looks like.
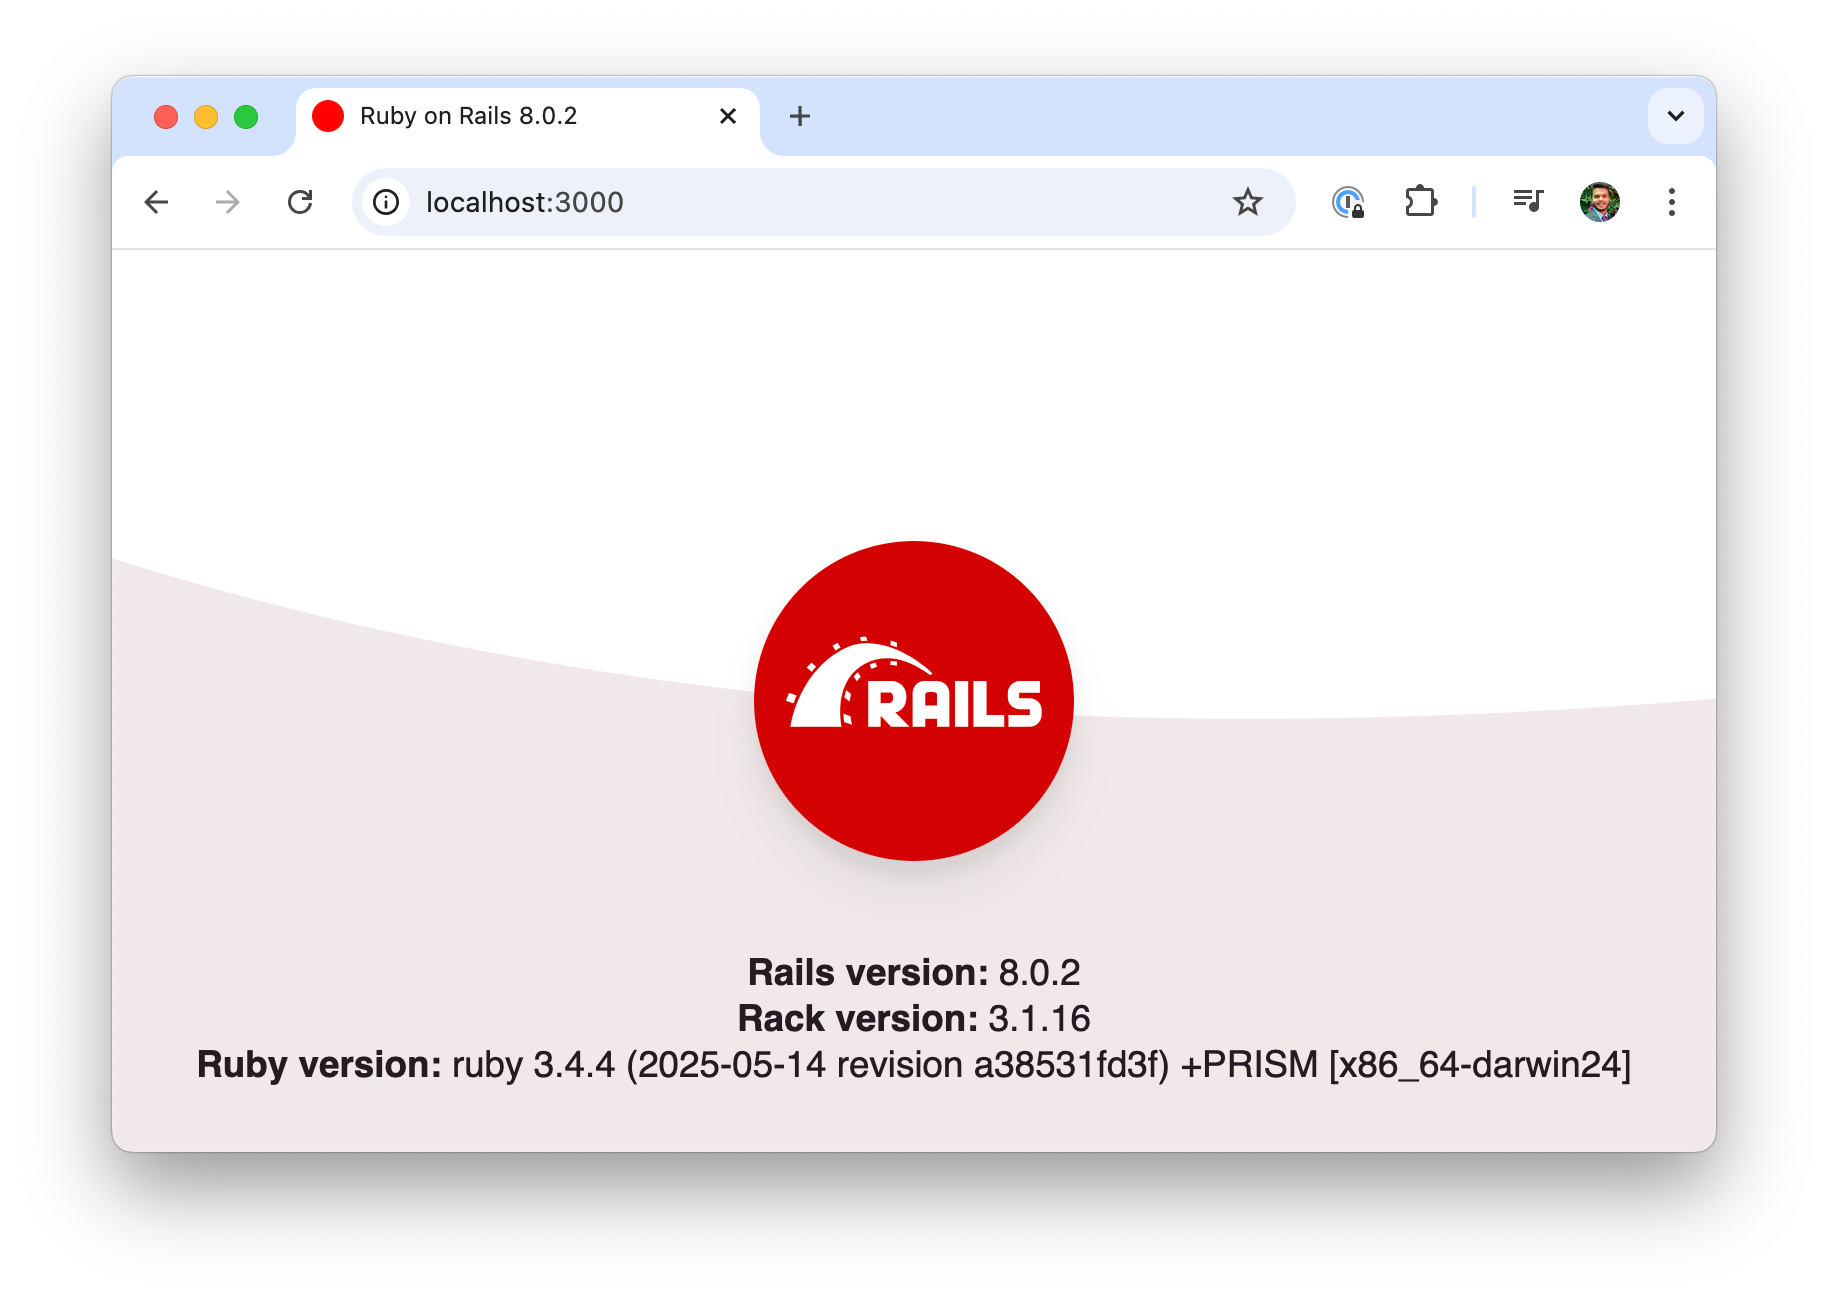
Very good. I've created and launched the Rails app for the blog.
To stop the running server, press Ctrl + C in the terminal. The setup script only needed to be run once. From now on, you can start the application at any time by running bin/dev command.
$ bin/dev
How does bin/dev work?
When you run bin/dev, it uses a tool called foreman to launch all the processes defined in your Procfile.dev file at once. In a new Rails app, this means it starts your web server and the Tailwind CSS compiler with a single command.
Here're the contents of the Procfile.dev file.
web: bin/rails server
css: bin/rails tailwindcss:watch
While running the Rails server and Tailwind CSS compiler with a single command is convenient, it will launch both these processes in the same terminal. Instead, I prefer using separate terminals to simplify debugging. When both processes share a terminal, the continuous output from the CSS compiler interferes with a paused debugging session on the server. To avoid this, I remove the server command from the Procfile and start it separately with rails server, which ensures a cleaner debugging experience.
So, here's the updated Procfile.dev
css: bin/rails tailwindcss:watch
Open one terminal tab and run the Rails server.
$ rails server
Now open another tab and run the Tailwind compiler:
$ bin/dev
Ensure you can still access the Rails app on http://localhost:3000.
Next, we'll do some housekeeping stuff required for a new Rails application.
Run database migrations
To generate the schema.rb file, run the database migration command.
$ rails db:migrate
Even though we haven't created any migrations yet, it's good to have the schema.rb file ready. You'll know why in the next post.
Add a root page
In the routes.rb file, add a route for the home page. The root method specifies where Rails should route the request to the home page, i.e. / endpoint.
# config/routes.rb

root "application#home"
This route maps requests for the home page to the home action defined in ApplicationController class. Let's update the ApplicationController to add a home action.
# app/controllers/application_controller.rb
class ApplicationController < ActionController::Base
  allow_browser versions: :modern

  def home
  end
end
Add a home.html.erb view template under the app/views/application folder.
<div>
  <p class="font-bold">Write Software Well</p>
</div>
Launch the application and go to the home page. You should see this.
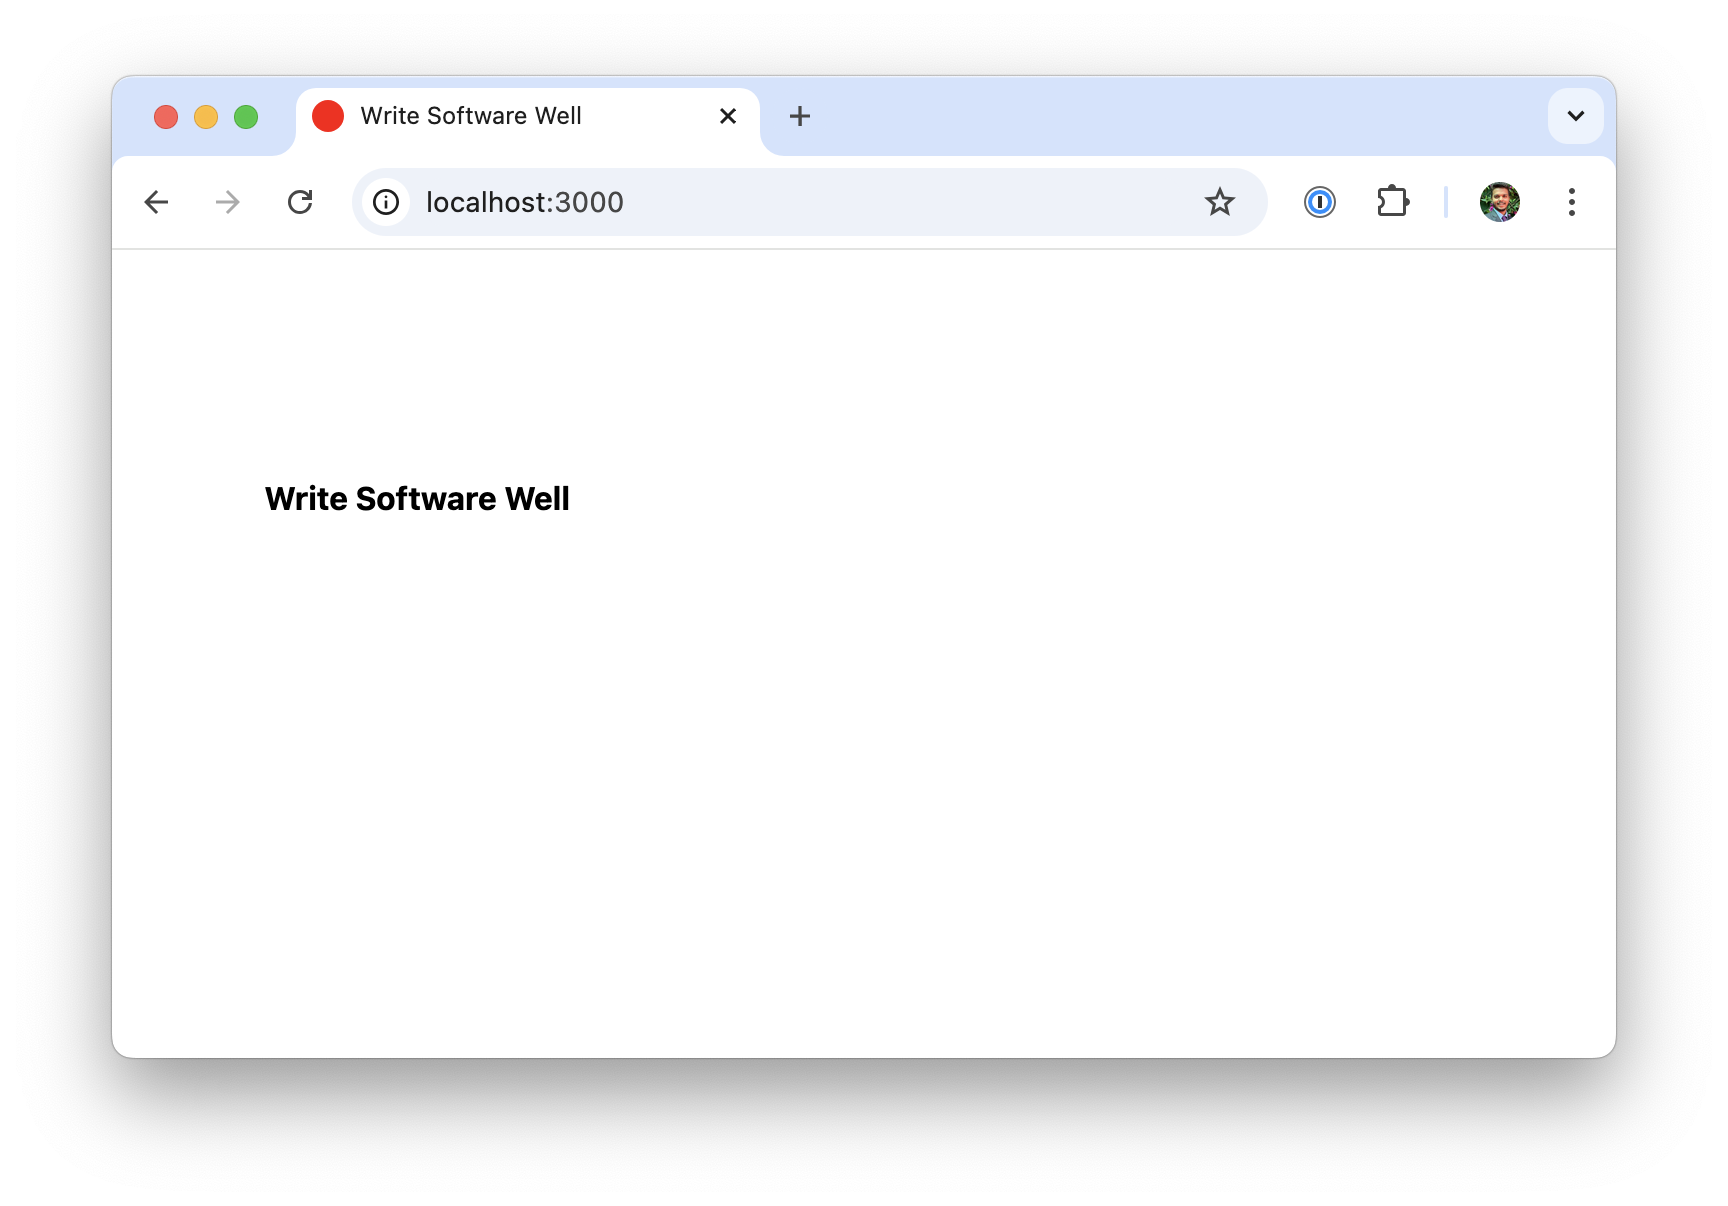
Very good. We're done for the day. Commit all your changes so far and I'll see you in the next post.
As always, if you have any questions or feedback, didn't understand something, or found a mistake, please leave a comment below or send me an email. I reply to all emails I get from developers, and I look forward to hearing from you.
If you'd like to receive future articles directly in your email, please subscribe to my blog. Your email is respected, never shared, rented, sold or spammed. If you're already a subscriber, thank you.